
Sweet Valentine - Romantic Boho Picnic + Full Sushi Feast Recipes!
- Amber Houbara

- Feb 11, 2017
- 7 min read
Updated: Oct 20, 2018
It's the last minute and you still haven't come up with an idea of how to surprise the one you love!?
Don't stress out just yet, cause this little guide will give you an inspiration to knock your lover off his feet!
Bye Bye fancy restaurants... This year you are doing it yourself big time!
And I bet your other half would appreciLove it even more!
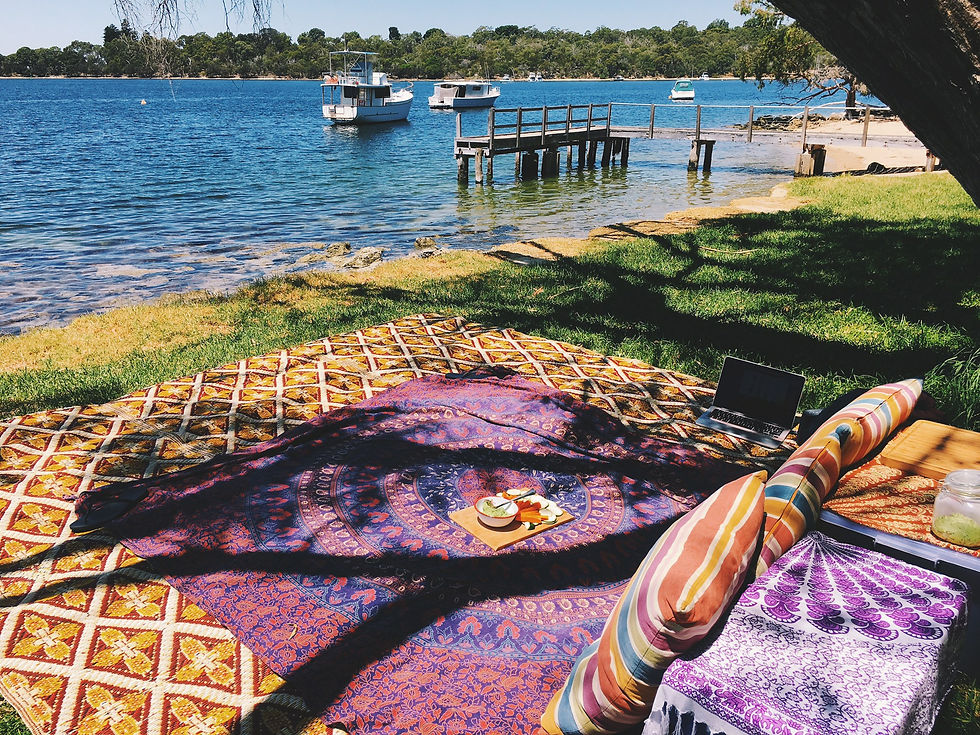
A Romantic Boho Picnic for valentines day is a beautiful gesture coming from your own heart to his.
So let's Begin!
~ PLANNING ~
FEW DAYS AHEAD
STEP ONE - THE PERFECT TIMING
Choose the right time of the day, for me a sunny brunch or sunset dinner is the best.
STEP TWO - LOCATION LOCATION
Choose a romantic place- Park, River, Beach, Mountain... Somewhere beautiful which will be perfect for the time you choose.
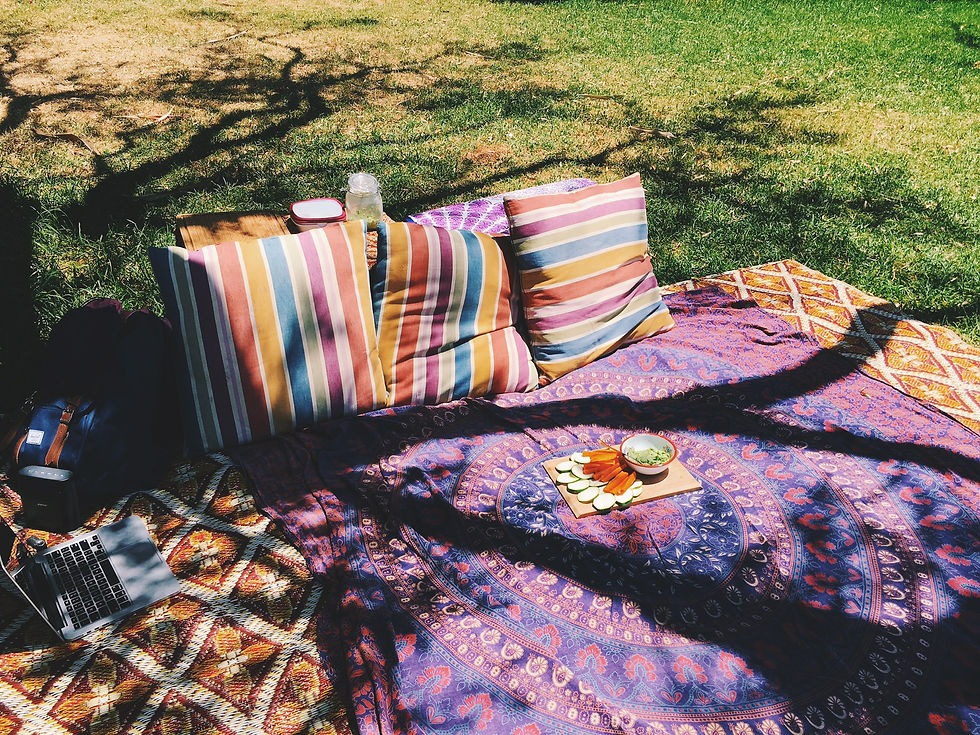
STEP THREE - STYLING AND ATMOSPHERE
Imagine it in your head.
Imagine how it's all gonna look like.
I like to take a good night sleep over it and really see it in my dream.
Make a list of things you would like to prepare or buy for the styling.
Some Ideas -
# A big Loongi (a blanket or a bedsheets)
# A big picnic mat
# Candles (if it is after sunset)
# Lots of cushions
# Plan a killer playlist and bring a speaker along with your favourite music player
# Camera for memories
STEP FOUR - WHAT'S COOKING GOOD LOOKING?
I choose to make it a healthy sushi feast, and so are the recipes you'll find down this post, but you can play around and choose your own theme!
After you have chosen what you're going for, try to arrange the right recipes for the menu-
first course
main course
dessert
and a cocktail (I chose a dessert cocktail to go along with the dessert)
STEP FIVE - SHOPPING TIME!
Make ahead a one big organised list of what you're missing from the styling, packing, serving and cooking.. don't forget to think about things which complete the whole picture like -
# plats, cups, serving plates/wooden boards, wine/cocktail glasses, cutleries..
# containers for carrying and leftovers
# Esky Cooler full of ice
# Heaps of water
# Glass bottles for cocktails or juices
# Cocktail maker if needed or a shaker
(-Better to plan where you're getting each thing from)
...Now go get all the ingredients needed for the mission!
~ SET THE KITCHEN ON FIRE BABE ~
Now when you have what you need, plan what you need to make in advance (for example- from the recipes down this post, better to make the ginger pickles a couple days ahead)
and wake up really early cause the next recipes will keep you a bit occupied in the kitchen (but hell worth it!!!)
FIRST COURSE - EDAMAME HUMMUS

It's always so nice to start a picnic with light veggie sticks and a nice creative dip to dig into.
This recipe of "Kiara of TobruckAve and Nutritionist Mikaela Reuben" from "BLDG 25 Blog" of "Free People" is without a doubt an easy creative meeting of Good old fashion pitta & hummus dipping and edamame sushi appetiser.
Light, and perfect for a picnic.
Ingredients -
Heaps of your favourite veggies to dip with, sliced to rounds or sticks
1.5 Cups frozen edamame beans (shelled)
1 tbsp pinched garlic (raw)
1.5 tbsp cilantro (chopped)
2 tbsp fresh lemon juice
1 tbsp high quality apple cider vinegar
2 tbsp mineral water
2 tbsp organic tahini
1 tbsp nutritional yeast flakes
1 tbsp soy or tamari sauce
salt to taste
Directions -
Bring about 3-4 cups of water to boil in a pot, add the edamame and cook until bright green (about 3-5 minutes).
When ready, drain and wash with cold water.
Transfer the edamame to a food processor and process with the Garlic, apple cider vinegar, water, cilantro, lemon juice and nutritional yeast.
Mix for about 30 seconds, add the tahini, tamari/soy and salt and mix until it become to a think paste texture.
Transfer to a jar and leave in the fridge until leaving for the Picnic
SECOND COURSE - VEGAN QINOA SUSHI & HOMEMADE PICKLED GINGER

Tezu traditionally is a light vinegar (water-vinegar), and its the vinegar which the Japanese are using to wet their hands while rolling the sushi.
In this recipe from “my new roots” we are using the Tezu for 2 purposes, The first one to make homemade pickled ginger, And the second one is to season our quinoa for the sushi rolls.
So we will make enough Tezu to use half of it for the pickled ginger and half for the quinoa.
Tezu
Ingredients -
4 Tbsp (60 ml) brown rice vinegar
2 Tbsp water
2 tsp liquid honey (or light agave)
2 tsp sea salt
*Add 1 piece of beetroot to the Tezu to colour it in a pinky colour (for valentines day) -optional.
Directions -
Whisk all the ingredients together.
Set half aside to dress the quinoa.

Pickled Ginger
Ingredients -
Half of the Tezu
60 grams of fresh ginger root (preferably organic)
Directions -
Peel the ginger and slice it thinly on a mandolin
Sprinkle the ginger with salt, toss to coat, and let it sit for 30 minutes.
squeeze with your hands the whole lot of ginger out over a sink, rinse well with cold running water and squeeze it out again until it is as dry as possible.
Soak the ginger in a glass jar with half of the tezu (it should be covered, but if it’s not add a little more Tezu).
Let it marinate in the jar in the fridge for at least 15 minutes or even overnight (if you like the taste less strong let it sit a couple days)
can be stored up to 2 weeks.

Quinoa Sushi
Makes 5-6 rolls (I doubled it and made 80 pieces of sushi!)
Ingredients -
1.5 cups quinoa (I like a 3 colour quinoa)
3 cups water
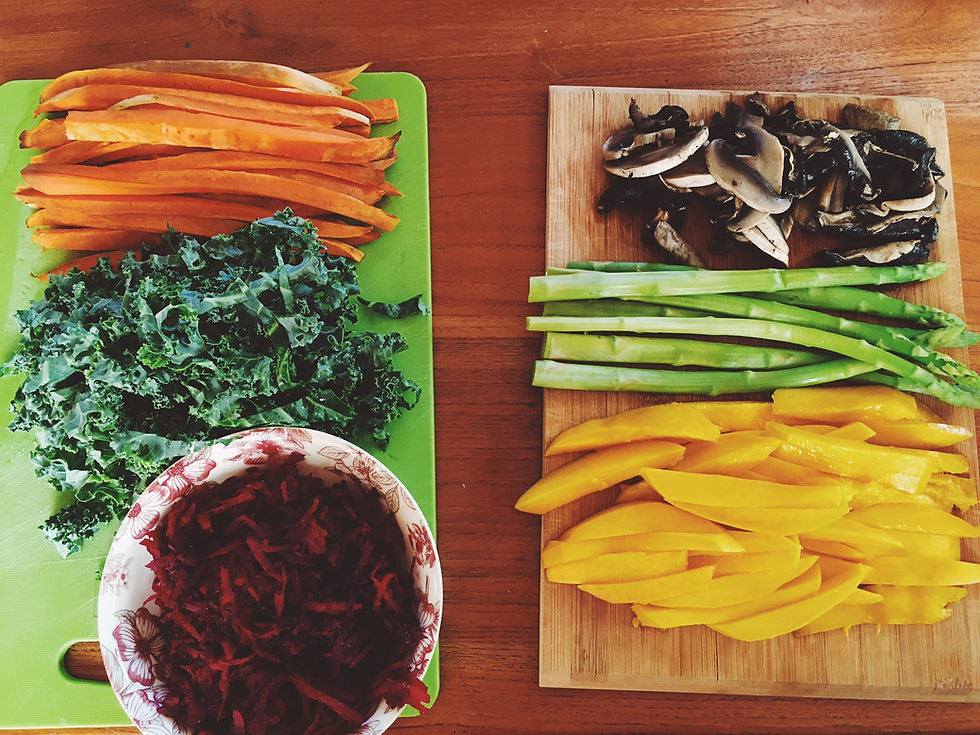
Vegetables :
1 option : Roasted sweet potato, Kale, Grated beetroot
2 option : Mango, Asparagus, mushrooms
(*you can change for your own combo)
Optional - Sesame seeds – roast them in a dry pan until they smell fragrant.
Directions -
1. Cooking the quinoa -
If you can, soak the quinoa for up to 8 hours.
Drain and rinse well.
Cook the Quinoa as the instructions on the bag say.
(supposed to be about 15-20 minutes cooking time after boiling, on a medium flame, and until the water has been absorbed).
DO NOT STIR!
Transfer the quinoa to a bowl and wait a few minutes to chill.
When the quinoa is no longer piping hot, add just a half (not more!) of your Tezu.
Fold to incorporate and taste for seasoning.
(Add more salt if necessary)
The quinoa should have a distinct sweet acidity, but not too strong of a taste.
cover loosely and let it cool down properly.
2. preparing the vegetables - (you can do this step first if you like)
cut the sweet potato to a long stripes, cover with soy sauce and roast in the oven until tender.
peel the bottom edges of the asparagus (the hard parts) and boil them in a high pot so they are not being bent while boiling (a high pot with a strainer like a pasta pot can work, or special asparagus pots)
cut the mushrooms, grate the beetroot, and cut the kale for stripes after remove the stems.
prepare 2 boards or plates with the three-veg combos ready to go (like in the pictures)
To roll the Sushi -
Use a Makisu (Bamboo rolling mat).
Wrap a the Makisu mat with a glad-wrap to keep it clean, and place the mat on a clean chopping board with the slats running horizontally.
Place a nori sheet, shiny-side down on the mat, 2cm from the edge closest to you.
Use wet hands to spread a thin layer of quinoa evenly over the nori sheet, leaving a 3cm-wide border along the edge furthest from you.
Arrange the fillings across the centre of the quinoa.
Then, if you like, sprinkle with sesame seeds.
Use your thumbs and forefingers to pick up the edge of the mat closest to you.
Use your other fingers to hold the filling while rolling the mat over to enclose.
Gently pull the mat as you go to create a firm roll.
Continue rolling until all the quinoa is covered with the nori and you have a neat roll.
Shape your hands around the mat to gently tighten the roll.
Use a wet sharp knife to cut into pieces.
First into half, Then quarters and then every quarter to thin slices (You can see the sheet has light folded lines exactly where you need to cut).
Wet your knife after every slice.
Arrange sushi in a large container until going out to the picnic (can also leave in the fridge until the last minute).
On the spot arrange it gently on a serving platter or wooden board and serve with wasabi pickled ginger and soy sauce.
SLIDE TO SEE HOW TO ROLL >>


DESSERT - FRUIT LOAF BITES WITH HOMEMADE BANANA BRANDI SPREAD AND ESPRESSO MARTINI
One of my favourite naturally sweet things is a fruit and nut bread loaf.
It has just what it takes to give your whole feast a little sweet taste, and since my lover is australian it's a passion we always love to share.
So I headed to my favourite bakery and got the best fruit loaf, but to make it just a tiny bit sweeter and desirable, I made my homemade banana brandi spread.
You can slice the bread and then cut it into cubes and spread the banana brandi spread on it so its just like little bites.
Banana Brandi Spread
Ingredients -
2 bananas
1 cup of nuts
3-4 dates
1 dried fig
1/4 cup of Brandi
Cinnamon
Cardamom
Nutmeg
1-2 tbspoons of water if too thick
Directions -
Blend all until thick texture becomes

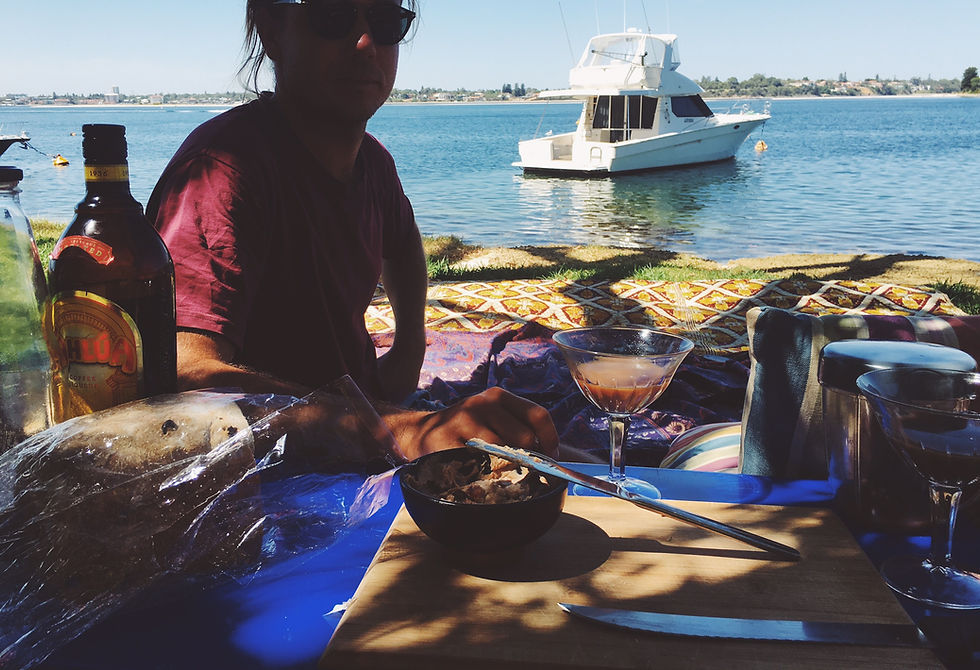
For the espresso martini,
You don't have to be a master bartender and get coffee liquor and vodka.
Simply grab your favourite coffee liquor (I love Kalouah, Bailies, or even Amarula, or Amaretto), and make in advance a big cold espresso & milk (of any kind you like) bottle (better to make it first thing in the morning and let it chill in the fridge for few hours while you're cooking).
Take with you a shaker to the picnic, and mix the iced coffee with as much liquor as you like and ice, serve cold imidiatly.
I HOPE YOU WILL HAVE A BEAUTIFUL VALENTINES DAY WITH MAGICAL MEMORIES
XOXO
Liked it?
Share it, Pin it and spread the love!


Comments